Sunday mornings often sound like a chaotic kitchen battlefield. The frantic spitting of hot grease against the tiles, the wince as a stray droplet catches your forearm, and the heavy scent of slightly charred fat filling the room. You stand over the stove with a pair of metal tongs, wrestling with curling ribbons of pork that refuse to lie flat, rushing to pull them off before they turn to ash.
Instead of this familiar panic, picture a completely different scene. The pan sits entirely cold on the hob. The rashers are laid out neatly, overlapping just a fraction, bathed in a shallow pool of ordinary tap water. It looks completely contrary to everything you were taught about a traditional British fry-up.
Yet, as the heat gently builds beneath the metal, a quiet, almost poetic transformation occurs. The water begins to simmer softly, coaxing the stubborn white fat to render and soften long before any harsh frying begins. The pan works quietly, without the aggressive violence of spitting oil, leaving the kitchen counter entirely spotless.
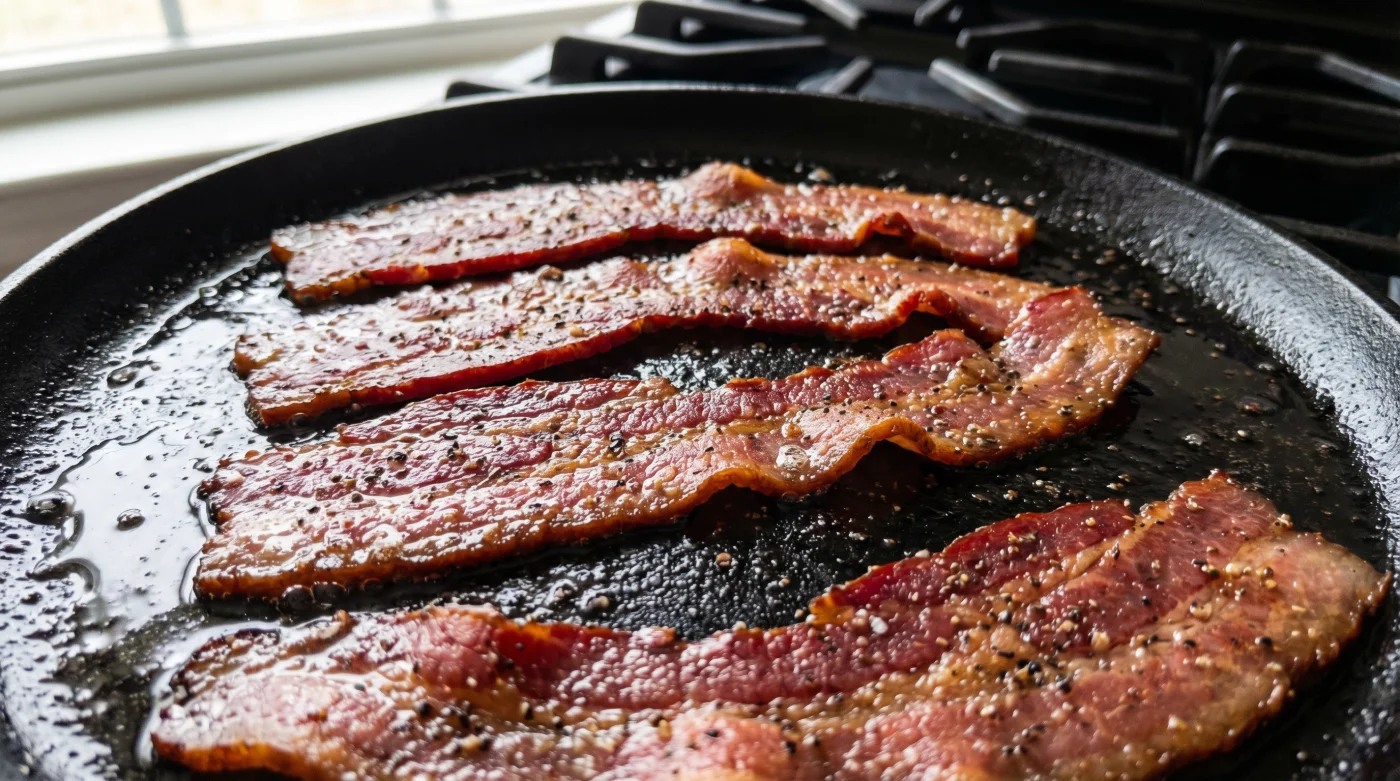
By the time the liquid completely evaporates, you are left with something remarkable. Perfectly flat, flawlessly brittle meat that shatters gently on the tongue, leaving no trace of rubbery chewiness behind. You have bypassed the morning chaos simply by changing the starting conditions.
The Perspective Shift: Treating Meat Like a Melting Candle
We are conditioned to treat a frying pan as a brutal instrument of high heat. You drop cold meat into a searing environment and expect it to behave softly. But muscle and fat react to sudden temperature spikes by seizing, shrinking, and curling violently inward, fighting the very pan you place them in.
To understand the viral fascination with this five-minute prep method, you must stop trying to force it and start thinking about gentle extraction. The tap water acts as a protective buffer, capping the pan’s temperature at exactly 100 degrees Celsius while it boils off. During this peaceful window, the fat gently melts away like wax down the side of a warm candle, rather than trapping itself inside a scorched exterior.
Once the water has vanished, the rashers are already sitting in their own perfectly rendered drippings. The frying stage only truly begins in the final moments, allowing the meat to crisp up evenly, lying flat against the cast iron without the violent resistance of unrendered fat causing it to buckle.
It shifts your role from a frantic line cook to a calm orchestrator of heat, proving that sometimes the best way to cook something fast is to ensure it starts remarkably slowly.
Consider the morning routine of Arthur Pendelton, a 48-year-old chef running a high-volume breakfast service in a busy Manchester cafe. For years, Arthur fought curled edges using heavy cast-iron presses and constant, obsessive flipping. One morning, a supplier delay forced him to cook a batch of particularly thick, fatty cuts in a rush. Remembering an old butcher’s trick, he poured half a cup of cold water over the layered rashers before turning on the gas. The water boiled away, the fat rendered entirely, and he was left with completely uniform, shatteringly crisp strips. He never went back to his old methods.
Adjusting the Technique for Your Favourite Cut
Not all pork behaves identically under heat, and this viral method adapts beautifully to your butcher depending on what you have brought home in the greaseproof paper wrapping.
For the streaky enthusiast, this is where the cold-water method shines brightest. Because streaky cuts contain a high ratio of fat to meat, the water buffer allows that heavy marbling to turn to liquid gold. You will find the final texture is almost glass-like, snapping cleanly when bitten. Add just enough water to barely cover the bottom of the pan.
The staple of the British bacon butty requires a gentler hand for the medallion of lean meat. Back bacon has a thick eye that can easily dry out if over-rendered. Use half the amount of water you would for streaky cuts—just a few tablespoons. It will soften the fatty edge without turning the lean centre into shoe leather.
Heavy, dry-cured meats from your local farm shop often carry robust, woody sugars that burn easily in dry heat. The water phase draws out excess surface salts and protects those delicate sugars, resulting in a deeply caramelised finish rather than an acrid, bitter char.
Mindful Application: The Five-Minute Morning Ritual
The true beauty of this approach lies in its sheer laziness. You do not need to hover with tongs, and you never have to defend yourself from spitting oil while you wait for the kettle to boil.
Place your frying pan on a completely cold hob. Arrange the rashers so they lie flat; a slight overlap is fine because they will shrink slightly as they release their moisture into the pan.
Pour in just enough cold tap water to coat the base of the pan. You are creating a shallow protective puddle, not boiling a stew. The water should just barely touch the edges of the meat.
Turn the heat to medium-high. Watch as the water comes to a rolling simmer. As the liquid turns cloudy with rendered fat, the sound will suddenly shift from a soft bubbling to a distinct, sharp sizzle. This auditory cue tells you the frying has begun. Turn the heat down to medium-low and let them finish crisping for a minute on each side.
- The Pan: Heavy carbon steel or cast iron holds heat best. Avoid thin non-stick if you want the very best texture.
- The Liquid: Cold tap water is perfect, though a tiny splash of apple cider vinegar can add a faint, bright tang.
- The Heat: Medium-high until the water completely evaporates, then immediately drop to medium-low.
- The Timing: Roughly five to six minutes total, depending entirely on the thickness of the slice.
The Bigger Picture: Reclaiming Your Morning Peace
We spend so much of our time trying to muscle our way through small daily tasks, fighting against the natural properties of the ingredients sitting right in front of us on the chopping board.
Mastering this simple adjustment does more than just guarantee a superior breakfast sandwich. It offers a small but meaningful lesson in patience and process. By taking a step back and allowing the tap water to do the heavy lifting of temperature control, you remove the stress from the equation entirely.
You are free to butter the sourdough, pour the tea, and watch the morning light shift across the kitchen tiles. The stovetop remains pristine, your hands remain unburnt, and the results are secured before the day begins. It is a quiet, crunchy victory, plated up with zero fuss.
When you stop treating the frying pan like a furnace and start treating it like an extraction tool, the ingredients finally stop fighting back.
| Key Point | Detail | Added Value for the Reader |
|---|---|---|
| Starting Temperature | Cold cast iron or carbon steel pan | Prevents the meat proteins from seizing and shrinking upon initial contact. |
| The Water Buffer | Just enough cold tap water to cover the base | Keeps the pan at 100 degrees Celsius, rendering the fat completely before the frying begins. |
| The Auditory Cue | Listening for the shift from a soft boil to a sharp sizzle | Removes the guesswork, telling you exactly when to lower the heat for the perfect crunch. |
Frequently Asked Questions
Will the water make the meat soggy?
No. The water entirely evaporates before the frying stage begins, leaving behind only the rendered fat which crisp the meat beautifully.Does this work for smoked and unsmoked varieties?
Yes, it works perfectly for both. For heavily smoked, dry-cured cuts, it actually helps prevent the delicate sugars from burning too quickly.Should I flip the rashers while the water is boiling?
There is no need. Leave them entirely alone until the water has evaporated and the distinct frying sizzle begins, then flip once.Can I use this method in a non-stick frying pan?
You can, but cast iron or carbon steel will always provide a superior, flatter crust because they hold ambient heat much better.What do I do with the leftover rendered fat?
Because the water method extracts the fat so cleanly without burning it, pour it into a small jar and keep it in the fridge for roasting potatoes.